The Single Post builder allows you to visually design your blog posts and main blog page right, just like you build any other page.
follow the step by step instructions:
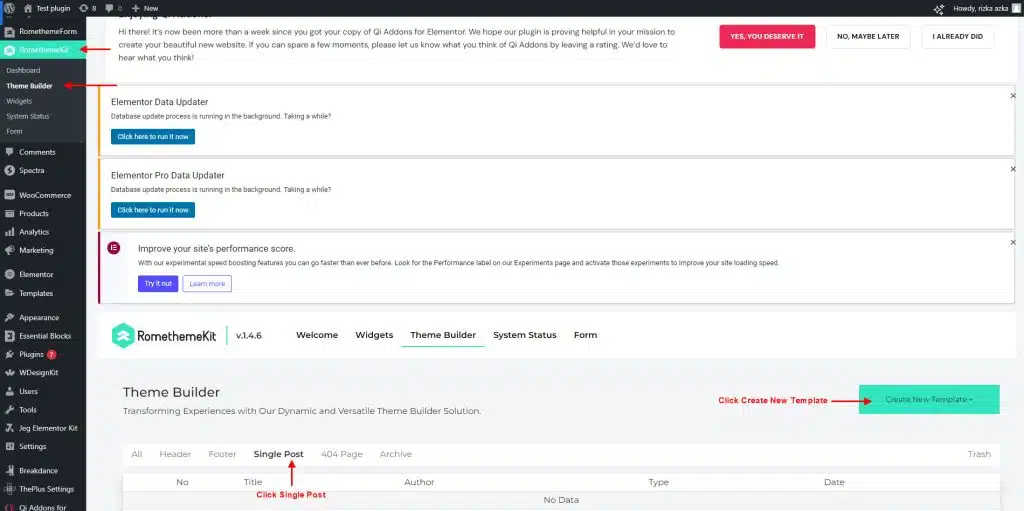
Step 1: Create a Single Post Template
- Go to RomethemeKit → Theme Builder.
- Click tab Single Post.
- Click Create New Template.
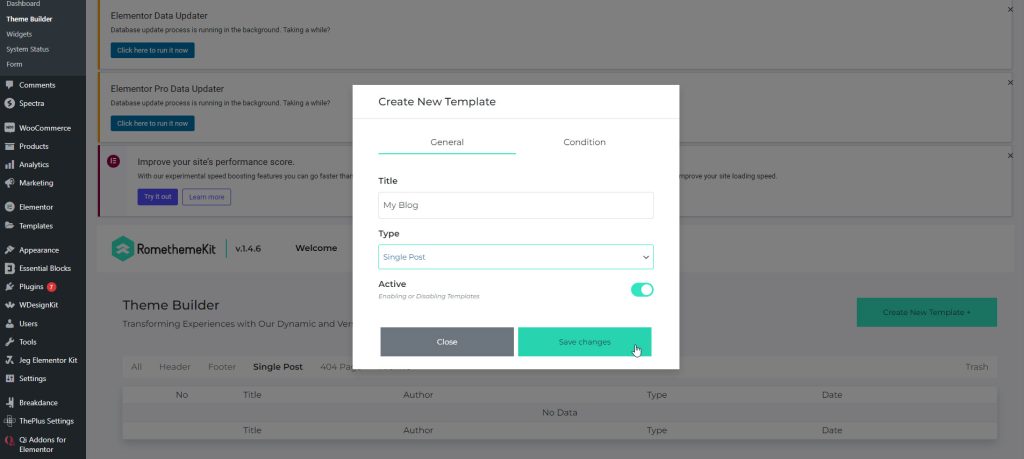
- Add your title.
- Select type : Single Post.
- Click Save Changes.
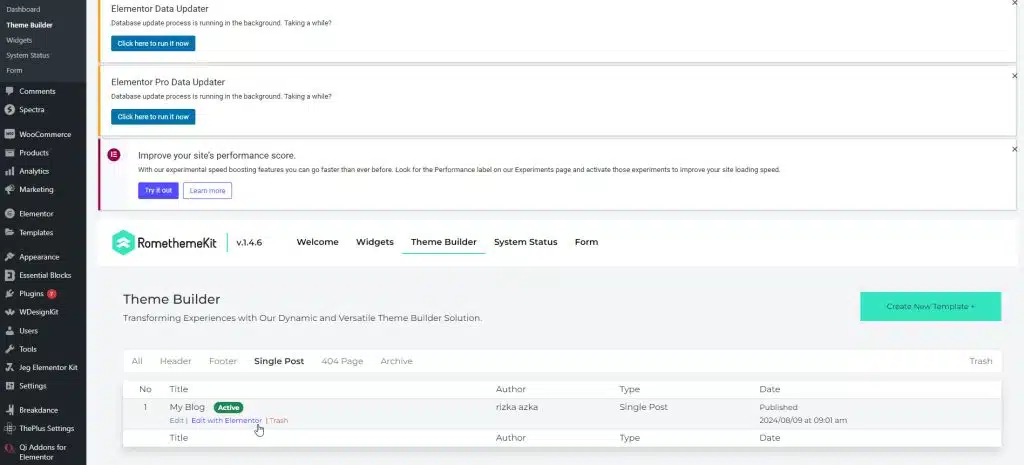
- Click Edit with Elementor.
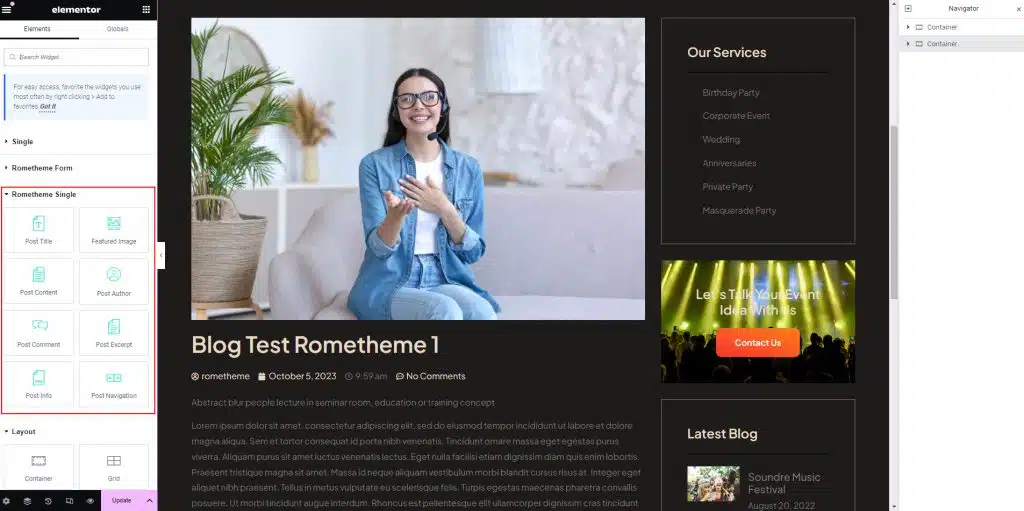
Step 2: Add Widgets from Rometheme
- You can add various widgets from the Rometheme Widget such as:
- You can easily click on any widget or drag and drop it into the desired area on your template.
- Post Title: Displays the title of your post.
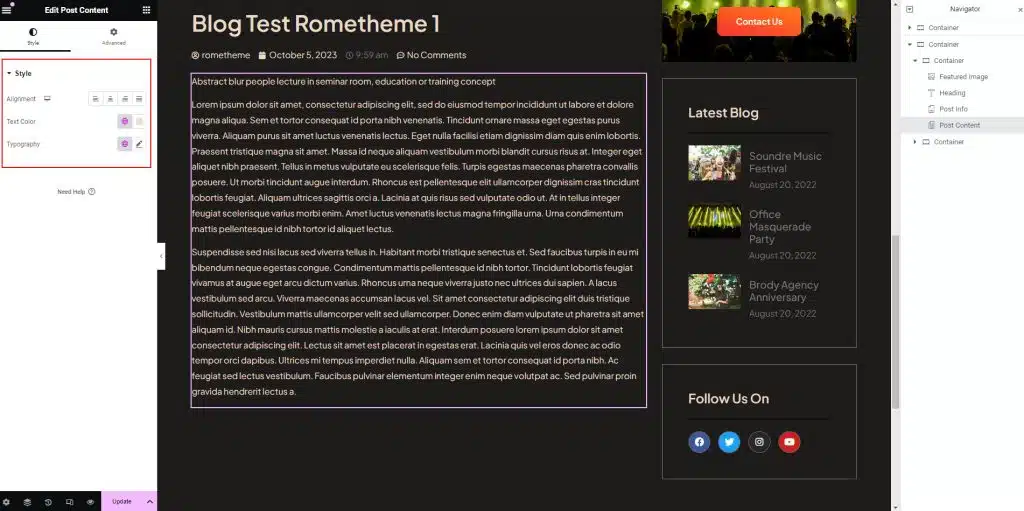
- Post Content: Displays the main content of your post.
- Post Comments: Shows the comments section for your post.
- Post Info: Displays additional post information like the date and categories.
- Featured Image: Shows the featured image of your post.
- Post Author: Displays information about the post’s author.
- Post Excerpt: Shows a brief summary or conclusion of your post.
- Post Navigation: Allows users to navigate to the previous or next post.
Step 3: Customize Each Widget
- Go to the tab “Content”, “Style”, or “Advanced” to start customizing each widget.
- In the tab “Content”, you can modify the content settings specific to the widget, such as text or images.
- In the tab “Style”, you can adjust the visual appearance of the widget, such as size and color.
- In the tab “Advanced”, you can further fine-tune your widget with advanced settings like margin and padding.
- Once you have customized your single post, click Update button to save your changes.


