A Navigation Menu is among the most important components when creating a website. It helps visitors to navigate to different pages or content easily.
follow the step by step instructions:
Step 1: Use Menu
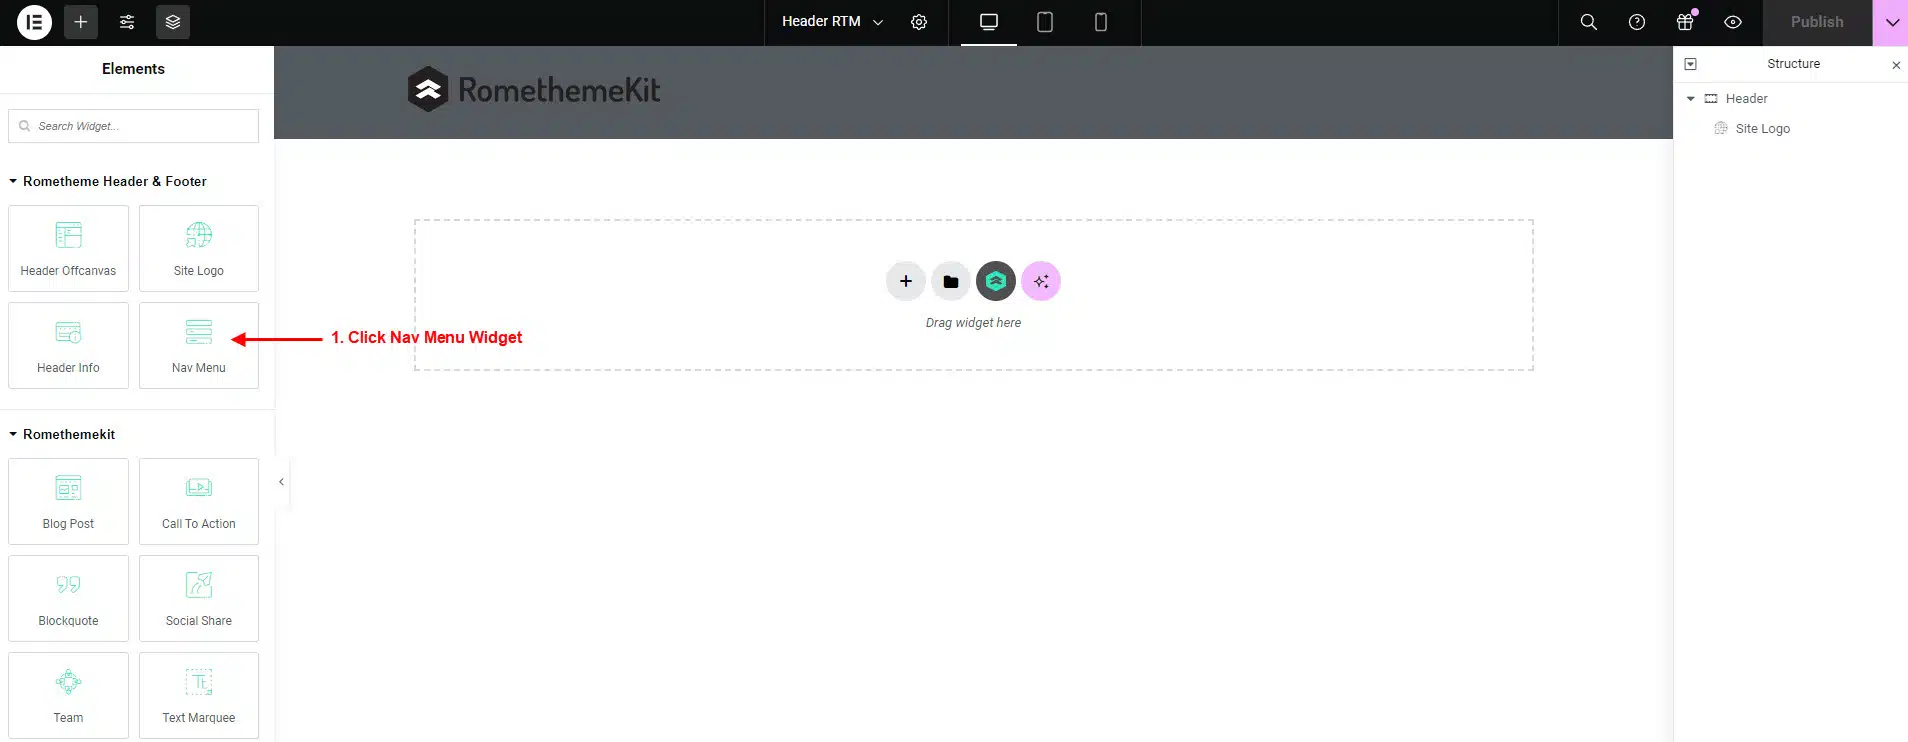
- On the canvas select your structure.
- Go to Menu Rometheme Header & Footer, and you will be able to see Nav Menu Widget.
- Drag the widget from the Elementor and Drop it on the selected area.
- Click Menu Select → select Header.
- Showing Nav Menu by defalut like the picture below.
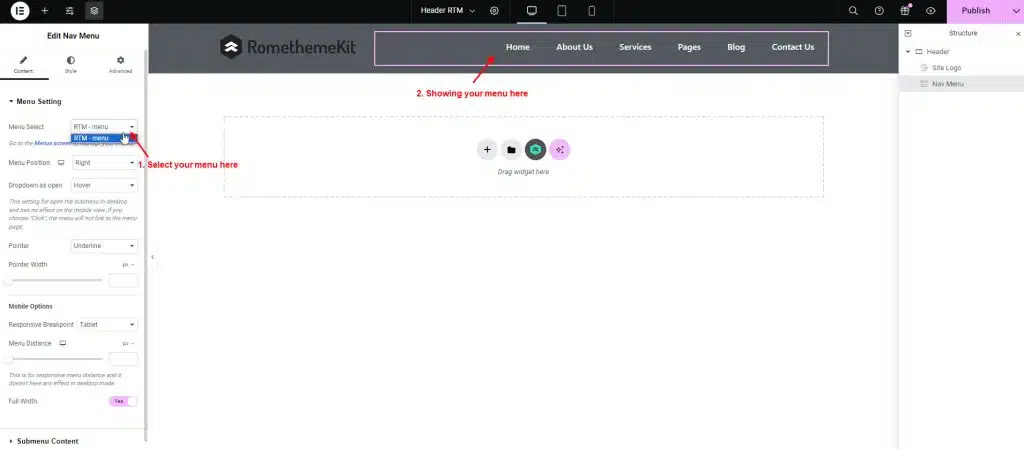
- If your menu doesn’t appear.
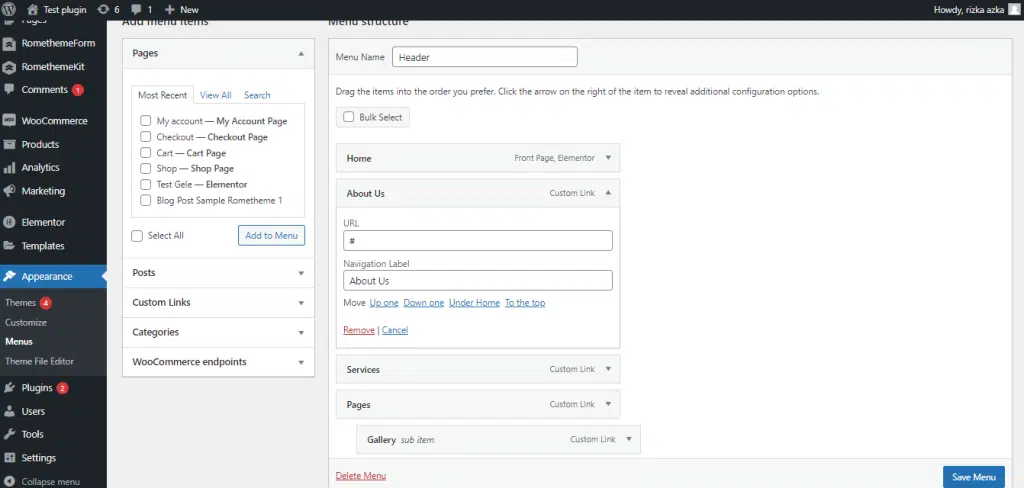
- Click Menu Screen to add and manage your menus.

- Edit your menu in the menu structure.
- Click menu → you can edit navigation label.
- Click remove to delete the menu.
- You can move your menu : up one, down one, under, or to the top.
- Don’t forget to click Save Menu to save your changes.
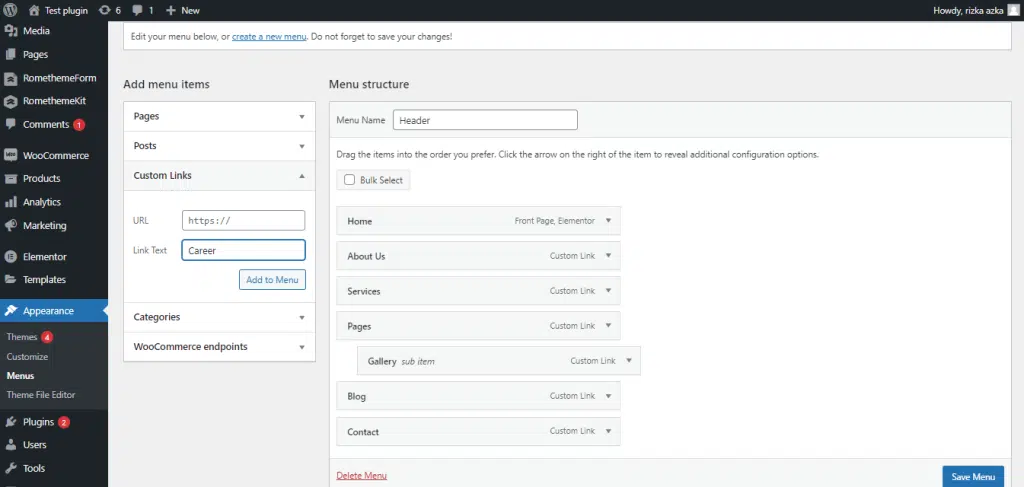
- Click custom links → you can create a new menu in the link text column.
- Click Add to Menu.
- Select your menu position : left, center, right, justified.
- Select dropdown as open : hover or click.
- This setting for open the submenu in desktop and has no effect on the mobile view, If you choose “Click”, the menu will not link to the menu page.
- You can also select responsive breakpoint : tablet or mobile.
- Don’t forget to click Save Menu to save your changes.
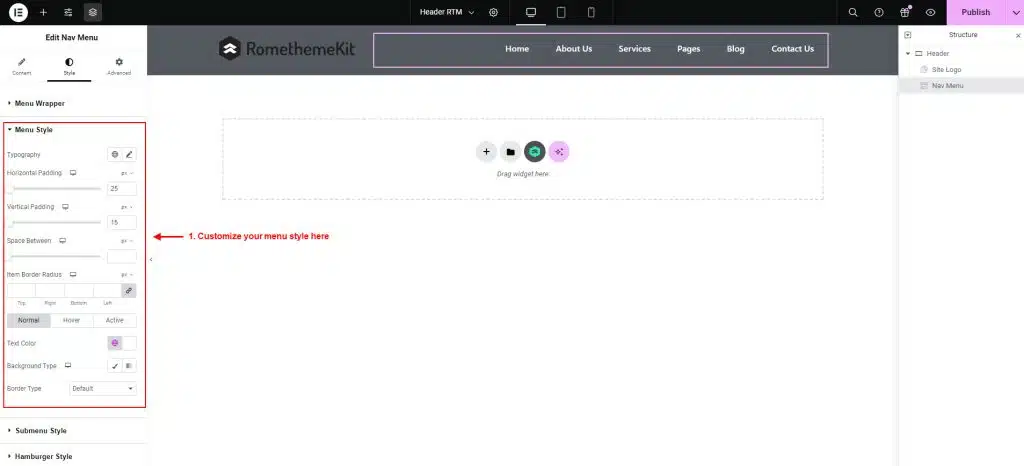
Step 2: Customize Menu
- Go back to elementor page.
- Click Style → Menu Style.
- Customize your font in the typography column.
- Setting the horizontal and vertical padding as you need.
- Select your color in the text color column, click specific color to add another color.
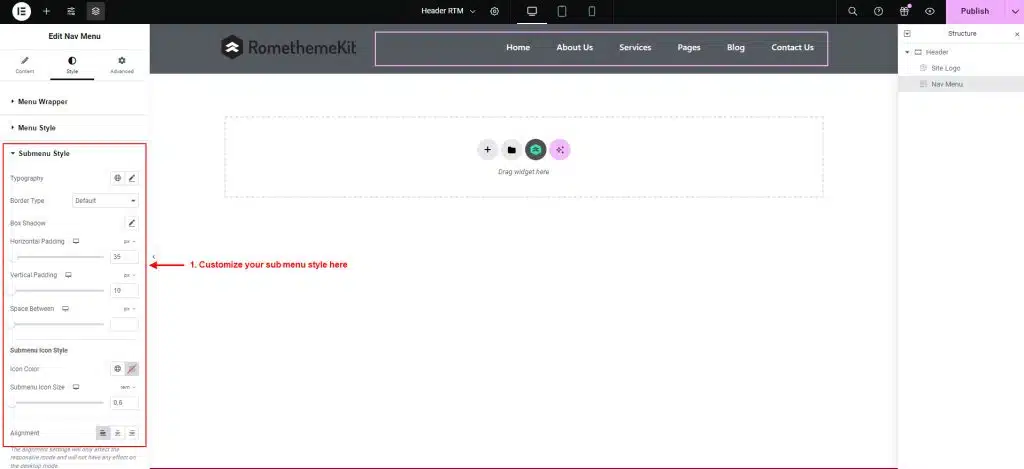
Step 3: Customize Sub Menu
- Click Style → Submenu Style.
- Customize your font in the typography column.
- Setting the horizontal and vertical padding as you need.
- Select your color in the text color column, click specific color to add another color.
- You can also customize submenu icon.
- You can also customize submenu icon.
- Click content → submenu content.
- Click Icon Library.
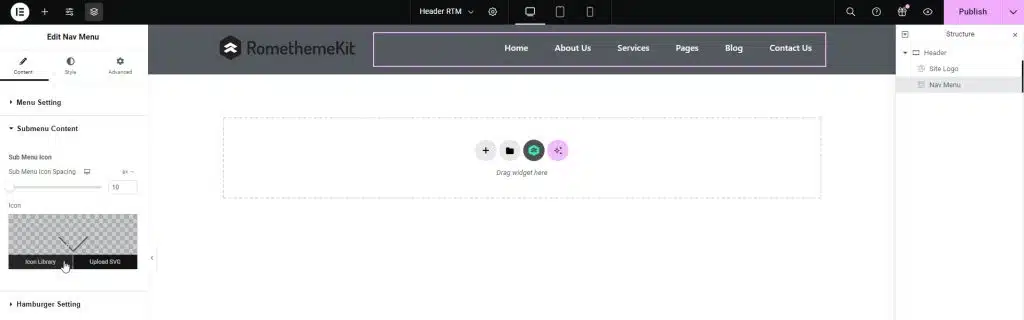
- Click Rometheme Icon Pack → Choose Icon → click Insert.
- To setting icon size, you can adjust in ‘sub menu icon spacing’


