Use a headers widget to introduce the content displayed on the page, to brand the page, to insert links to other pages, or to scroll to specific areas on the page.
follow the step by step instructions:
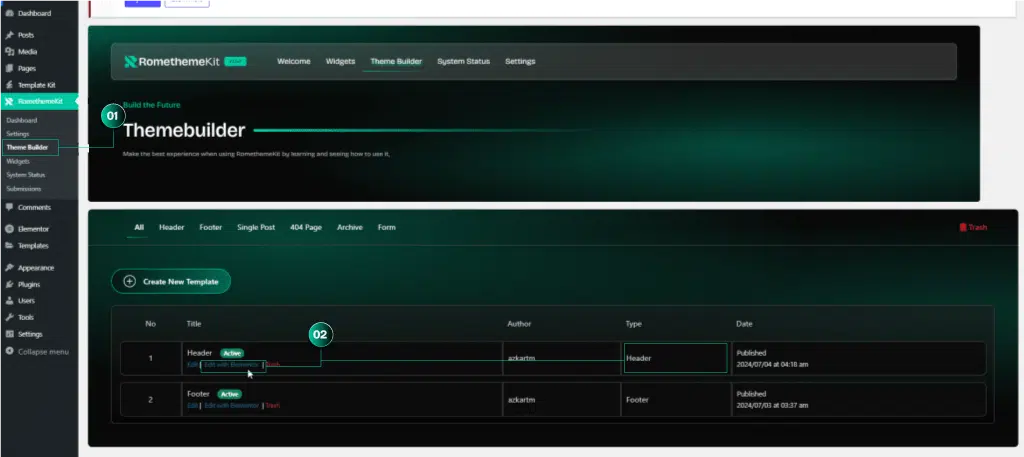
1. Go to Menu RomethemeKit → Theme Builder.
2. Click Edit with Elementor in Header.
Step 1: Customize Header (Desktop)
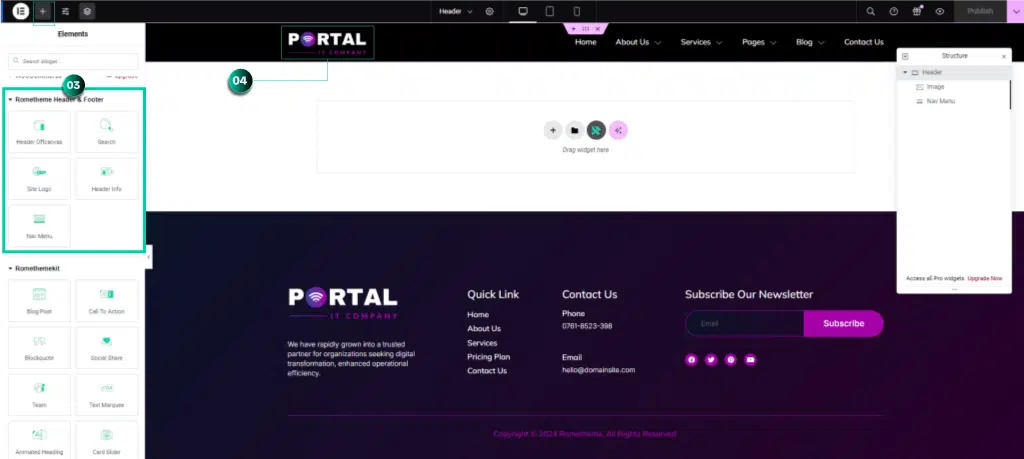
3. Select the widget from the Elements Drag and Drop on the selected area.
4. You can change your logo by clicking Image Widget to showing your logo in header.
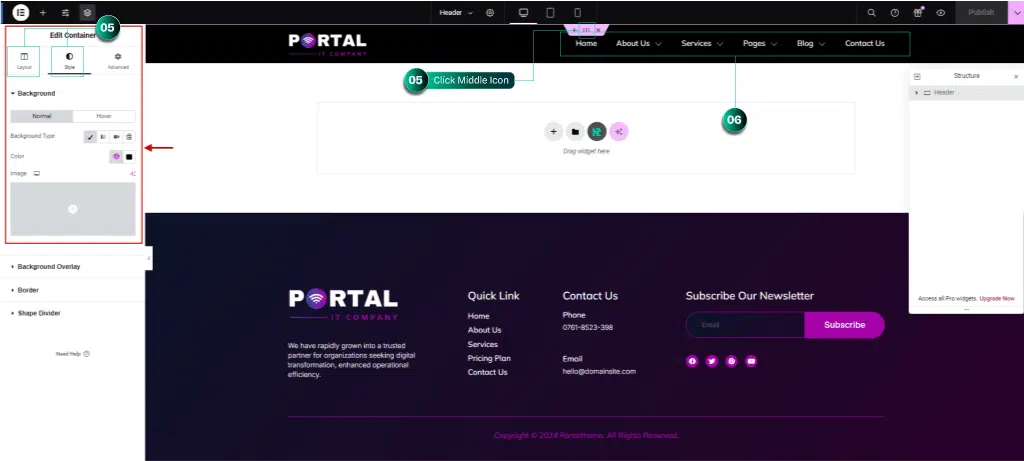
5. Click tab layout, Style or Advanced menu to customize your header.
6. Click Nav Menu to customize your menu.
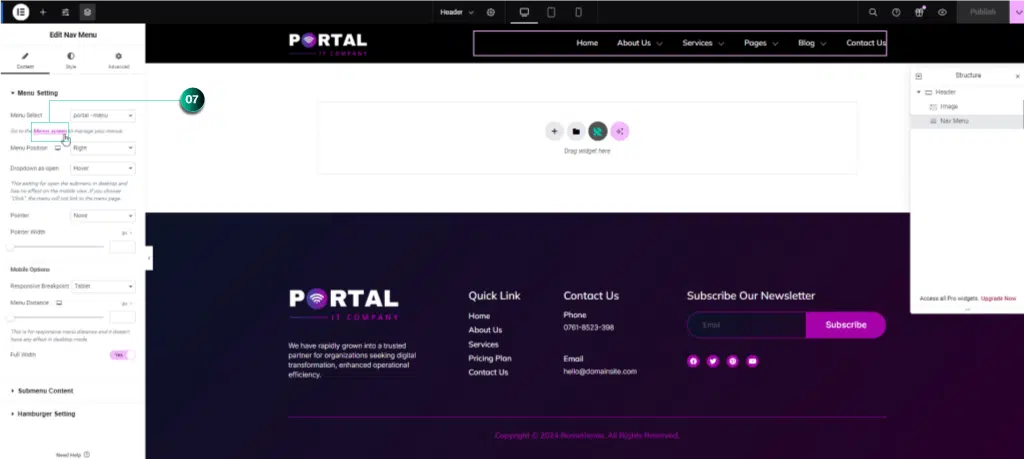
7. If you want to add or edit the menu, you can click Menu Screen Link like the picture below. (If you don’t know how to create a Menu, please check the guide here.
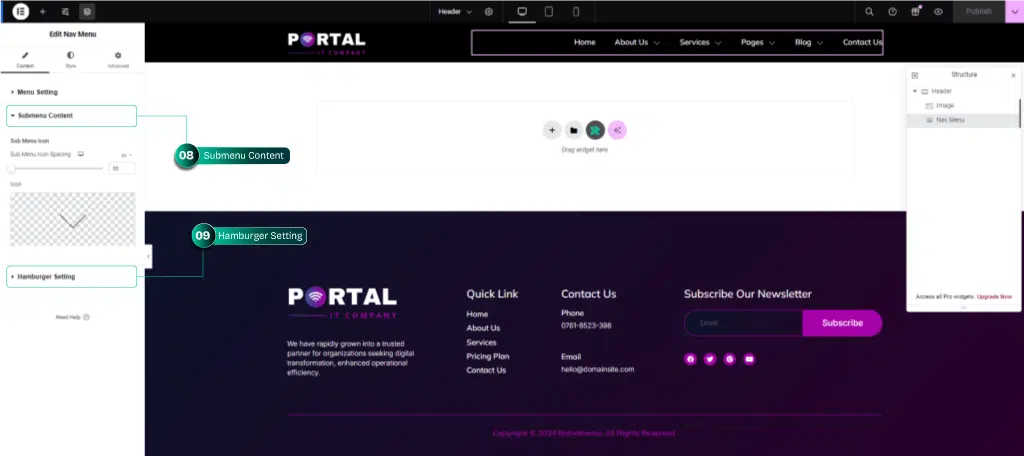
8. Click Submenu Content to change the sub menu icon.
9. Click Hamburger Setting to change the Hamburger icon. (A hamburger icon is a navigational tool whose purpose is to hide a menu and reveal it when a user clicks, taps or touches the icon. This icon will show in the tablet and mobile phone.)
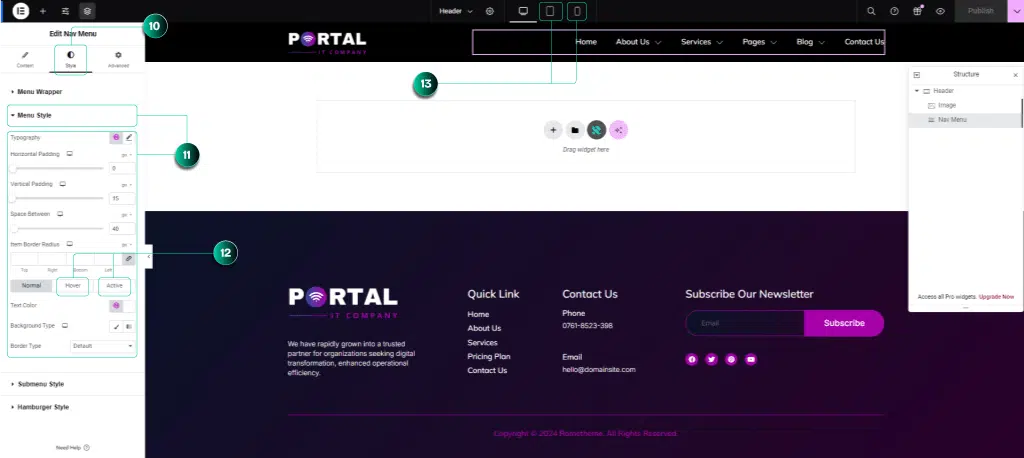
10.Click Tab Style
11. Click Menu Style → you can changes typography, setting padding, and menu color.
12. Click Tab Hover & Tab Active → you can changes the hover and active color.
Step 2: Customize Header (Mobile Responsive – Tablet & Mobile Phone)
13. Click Tablet or Mobile Phone Mode and repeat Step No.12
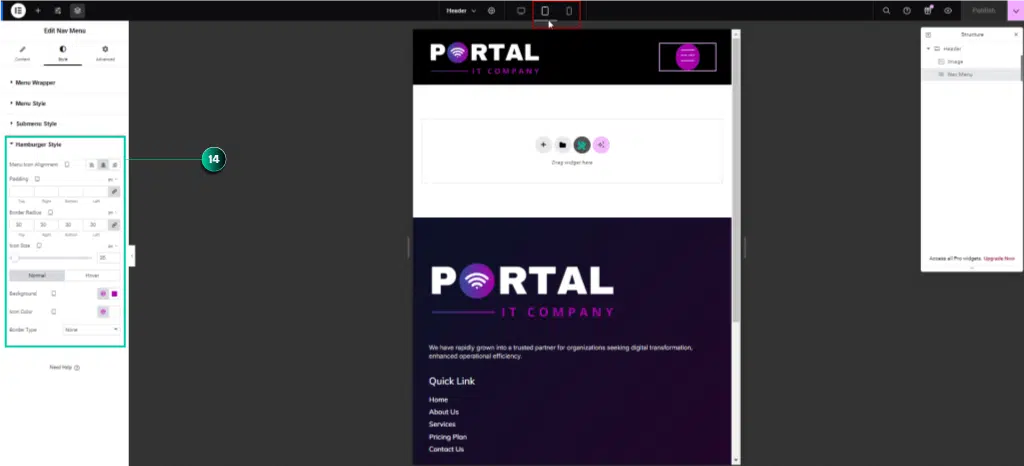
14. Click Hamburger Style → you can setting icon alignment, padding, icon hamburger size, background and hover color over here.
If you want to change the menu icon on your mobile display, please follow the steps below:
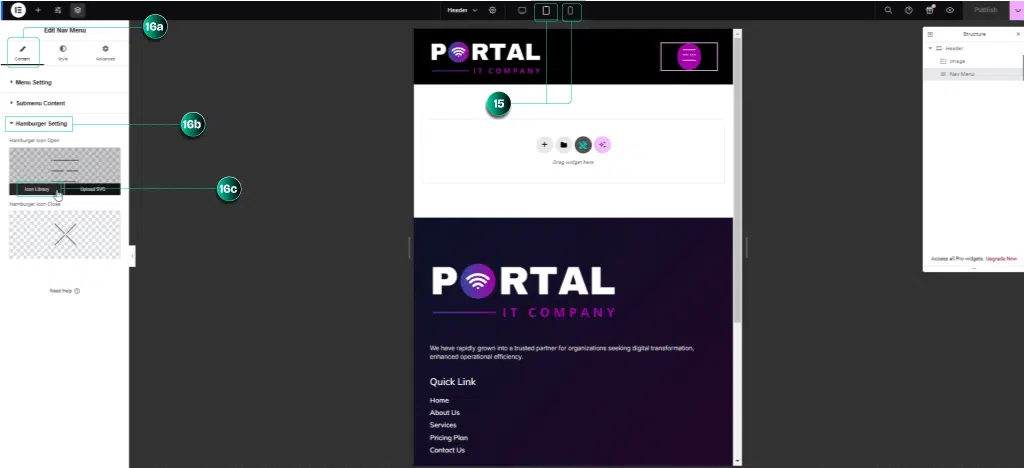
15. Make sure you have displayed your Elementor page in a mobile responsive display.
16. Click Menu Content → Hamburger Setting → Icon Library.

17. Click RomethemeKit Icon Pack → Select Icon you can to user → Click Insert.
18. Don’t forget to Click Publish Right Top Button to save the changes.


