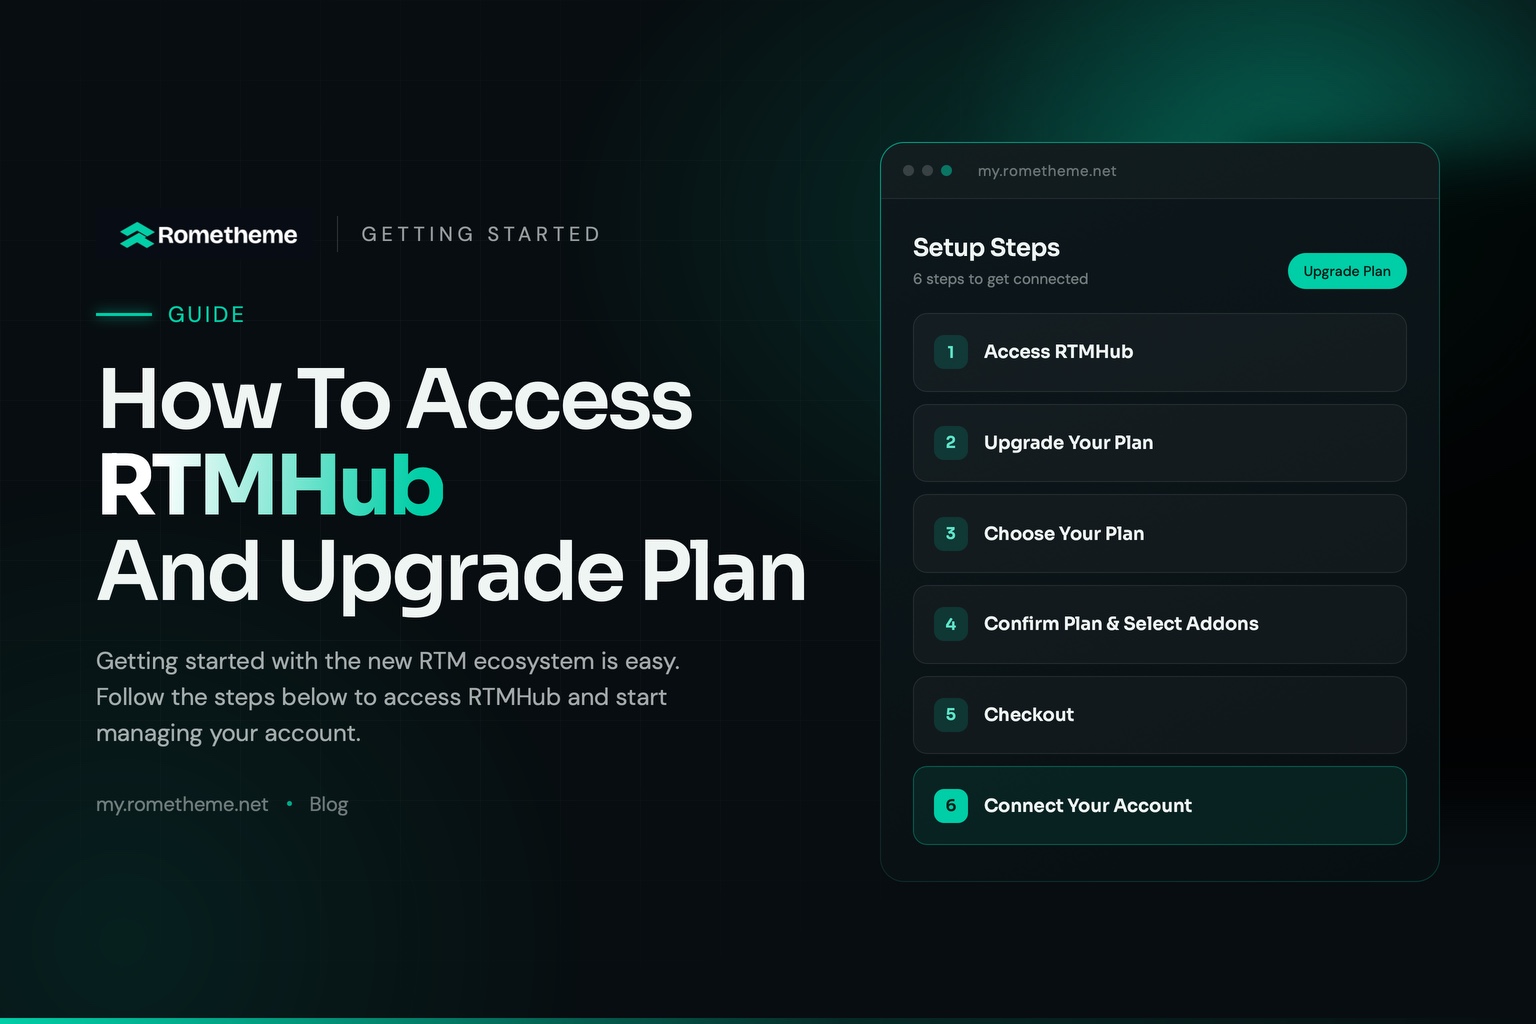
Getting started with the new RTM ecosystem is easy. Follow the steps below to access RTMHub and start managing your account.
Step 1 — Access RTMHub
Open the RTMHub website: https://my.rometheme.net/
Log in using the email address and password associated with your RTM account. If you don’t have an account yet, create a new RTMHub account first.
After logging in successfully, you will be redirected to the RTMHub Dashboard.
Step 2 — Upgrade Your Plan
From the dashboard, click Join Membership to be redirected to the Upgrade Plan page.
Alternatively, you can directly select the Upgrade Plan menu.
Step 3 — Choose Your Plan
Select the plan you want to purchase, from a plan with one addon to a plan that includes all addons.
You can also choose between Yearly or Lifetime billing and select the number of websites you want to use.
Step 4 — Confirm Your Plan & Select Addons
After selecting your plan, review your selection and choose the addons you want to use.
Step 5 — Checkout
Proceed to checkout and complete the payment according to the plan you selected.
Step 6 — Connect Your Account
Go to your WordPress Dashboard and make sure you have updated RTMKit to version 2.1.4.
Then, go to:
RTMKit → Settings → Account → Connect Account
Log in using the same RTMHub account you used to purchase your plan.
You’re Ready to Go!
That’s it! Your RTMHub account is now connected, and you can start using the addons included in your selected plan.