Why we should care about optimizing images for website?
If you’re a designer and often work with website templates, you’re probably familiar with handling images. Optimizing images for website templates is really important because it affects your site’s speed and performance. When creating website templates, optimized images not only make your site look better but also help it load faster. Whether you’re designing with Figma or working on website templates in Elementor, make sure your images are sized correctly to keep your website templates light and user-friendly.
Images are one of the most important parts of your content. Whether you’re using WordPress, Elementor, or designing with Figma, images help tell your story and keep visitors engaged and it make your site look great. But here’s the thing, those beautiful images can also slow down your site if they’re not optimized properly.
Why does this matter? Well, most people don’t like waiting for websites to load. If your site takes too long, visitors might leave before they even get a chance to see what you’re offering. Plus, search engines like Google favor fast-loading websites, so slow images could hurt your ranking and make it harder for people to find you.
Optimizing images involves reducing their file size without compromising quality, making sure your website loads faster, performs better, and even helps save on server costs. Whether you’re working with Figma for web design or coding your own HTML template, image optimization is a vital part of website performance.
In this guide, you’ll learn simple ways to optimize your images using easy tools and methods. By the end, you’ll know how to make your images load faster, improve your site’s performance, and keep your visitors happy. Let’s get started!
What Does Image Optimization Mean?
In simple terms, image optimization is about reducing the file size of your images while keeping them looking great. This means using the right format, setting the correct dimensions, and compressing them properly. The goal is to balance image quality with file size, so your site loads faster and runs more smoothly.
Here are the benefits of optimizing images:
- Faster Loading Times: Optimized images load quicker, providing a better user experience, which encourages visitors to stay longer on your site.
- Improved SEO: Search engines favor faster-loading websites, so optimized images can boost your site’s ranking in search results.
- Reduced Storage & Bandwidth: Smaller image sizes take up less storage and require less bandwidth, which can reduce hosting costs and prevent slowdowns.
- Mobile-Friendly: Optimized images help ensure your website works well across mobile devices, tablets, and desktops.
How to Optimize Images for Best Performance
To achieve optimal performance, focus on these three things when optimizing images:
- Image File Format
- Compression
- Image Dimensions
When you balance these correctly, you can reduce your image sizes by up to 20-30%, ensuring they’re ready for upload.
1. Image File Format (JPEG vs. PNG vs. GIF)
You’re probably familiar with image formats like JPEG, PNG, and GIF. Each has its pros and cons, depending on the type of image and your design tool—whether you’re using Figma, Elementor, or directly coding in HTML. Here’s a quick comparison of the three:
| Format | Best For | Pros | Cons |
| JPEG | Photographs, colorful images | Small file size, high quality | Lossy compression (some quality lost) |
| PNG | Transparent backgrounds, icons | High quality, supports transparency | Larger file size |
| GIF | Simple animations, low-color images | Supports animation | Limited colors, larger file size for complex images |
2. Compression (Higher Compression = Smaller File Size)
Compression is key to reducing file size, but be careful—more compression can lower the image quality. Here’s what to know:
- Lossy Compression: Reduces file size significantly but may lower image quality. Use this when small size is a priority.
- Lossless Compression: Reduces size without affecting quality but doesn’t compress as much as lossy methods.
3. Image Dimensions (Height and Width)
Properly sizing your images is crucial for both performance and visual clarity. Here are some tips:
- Fit to Design: Resize images to fit your site’s layout. Large images can slow down your site, while small images may look blurry.
- Responsive Design: Make sure your images adapt to different screen sizes using responsive themes or plugins.
- Predefined Sizes: WordPress offers predefined sizes when uploading images—use them to make your process easier.
- Avoid Scaling in CSS: Resize images before uploading instead of relying on CSS scaling, which can slow down your site.
- Retina Displays: For high-resolution screens like Retina displays, use images that are twice the size for sharp results.
How to Optimize Images with Plugins
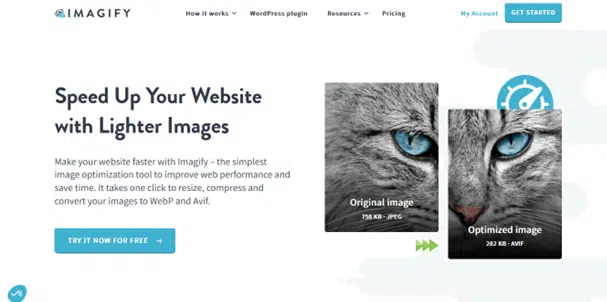
Using plugins to optimize images is a simple and effective way to keep your WordPress site running smoothly. We often use the plugin Imagify. It’s a powerful tool for compressing images and converting them to modern formats like WebP and AVIF. Imagify automatically optimizes images in all sizes created by WordPress and supports both lossy and lossless compression. The plugin is easy to use, making it a great choice for beginners and advanced users alike to optimize images without hassle.
How to Optimize Images through Online Tools
If you want a quick and easy way to optimize your images without downloading any software, online tools are a fantastic solution. These tools allow you to reduce the file size of your images with just a few clicks, without needing any tech skills. Whether you’re working on a blog post or trying to improve your website’s performance, online tools make it super convenient to keep your images light and fast.
One of the best parts about using online tools is that you don’t have to install anything. All you need is a web browser and a few minutes to upload your images and get them compressed. These tools are particularly useful for people who need fast results or are working on devices where installing new software isn’t an option. So, if you’re always on the go or just need a quick fix, these are perfect for you!
Let’s take a look at some popular options:
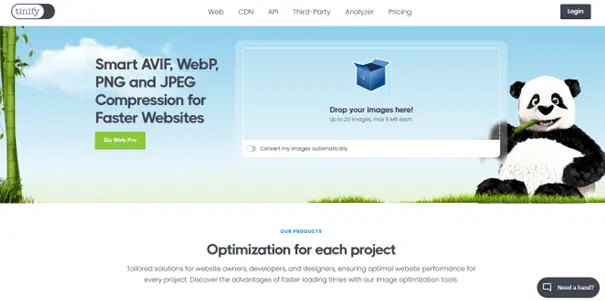
1. TinyPNG
TinyPNG is a well-known and easy-to-use tool that specializes in compressing PNG, JPEG, and WebP images. It reduces the file size by cleverly reducing the number of colors, which means smaller files without losing too much quality. With its drag-and-drop feature, you can optimize images in seconds, making it a favorite among users who want a simple yet effective solution.
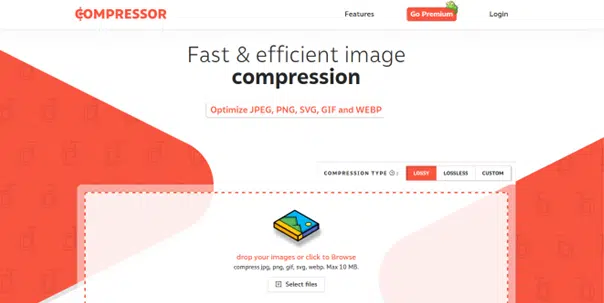
2. Compressor.io
Compressor.io is another powerful online tool designed to shrink your image sizes while keeping quality high. It offers both lossy and lossless compression options, so you can choose based on your needs. If you need to save space but still want your images to look sharp, this tool is a great choice. Plus, it’s super easy to use with a clean, straightforward interface. Just upload your image, compress it, and save it directly to your device or cloud storage.
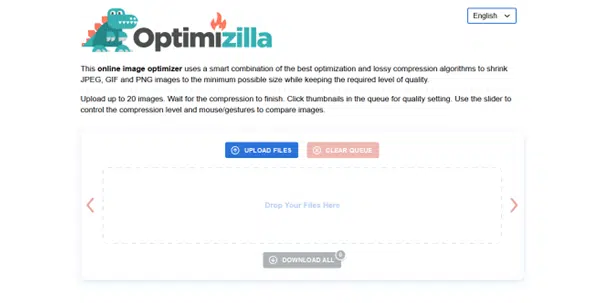
3. Optimizilla
Optimizilla stands out for its ability to handle bulk image compression. You can upload up to 20 images at once and compress them all in one go. This is super handy if you have lots of images to optimize, like for a blog post or an e-commerce site. It balances size and quality so well that it’s become a go-to for many website owners who need speed and efficiency. Just drag, drop, and download!
These online tools are ideal for quick and easy image optimization, making sure your website runs smoothly without the need for any complicated software.
Optimizing Images through Software Apps
While online tools are great for quick tasks, software apps give you more control and advanced features. These apps are perfect if you regularly work with images, need to handle large volumes, or want to fine-tune details for each file. The best part? These tools are usually packed with options to adjust things like resolution, file format, and compression level.
Using software gives you the ability to not just compress images but also edit and customize them to fit your exact needs. Whether you’re a professional designer or just want more flexibility, these apps are worth considering. Below are some of the top choices for image optimization through software:
1. Adobe Photoshop
Adobe Photoshop is a powerhouse in the world of image editing, and it’s not just for designers. If you want complete control over your images, Photoshop is your best bet. From resizing to advanced compression settings, this tool has everything you need to make your images smaller without sacrificing quality. While it’s a paid software, the level of detail and control it offers is unmatched. To optimize an image in Photoshop, just go to File > Export > Export As… and choose the right file format (JPEG, PNG, etc.). You can also adjust quality settings to get the perfect balance between file size and image clarity.
2. GIMP
GIMP is a free, open-source alternative to Photoshop, offering similar features without the price tag. It’s perfect for users who want to optimize images without spending a dime. GIMP lets you resize, crop, and compress images easily. Simply go to File > Export As…, choose your desired format, and adjust the quality slider to reduce the file size. It’s a fantastic option for anyone looking for robust image editing without breaking the bank.
3. ImageOptim
If you’re a Mac user, ImageOptim is one of the best tools out there for image compression. It works by removing unnecessary metadata and running multiple compression techniques to reduce file sizes. All you have to do is drag and drop your images into the app, and it will automatically apply the best optimization methods. ImageOptim is great because it’s fast, effective, and keeps your images looking sharp.
Using software apps for image optimization gives you more control and customization, making them ideal for more detailed work or bulk image processing. Whether you choose Photoshop, GIMP, or ImageOptim, these tools ensure that your images are fully optimized for speed and performance.
Conclusion: Keep Your Website Fast and Efficient with Regular Image Optimization
Now that you’ve learned various methods to optimize images, from simple online tools to powerful software apps, it’s time to put this knowledge into practice. Remember, keeping your images optimized is key to maintaining a fast, user-friendly website. It’s not just about aesthetics—optimized images improve your site’s loading time, help with SEO rankings, and ensure that visitors stick around longer.
Don’t forget to optimize new images regularly as you upload them to your site. Keeping an eye on your website’s performance through tools like Google PageSpeed Insights can also help you monitor speed and spot any areas for improvement. Whether you’re using TinyPNG for quick edits or Photoshop for advanced optimization, regular maintenance will keep your site running smoothly.
By following these simple steps and using the right tools, you’ll ensure that your website not only looks great but also performs at its best, giving your visitors a seamless experience every time they visit.
Wrapping up, it’s time to simplify your web design process. RomethemeKit offers a fantastic solution to simplify your Elementor experience. Explore Unlimited Potential with RomethemeKit PRO. Take your designs to the next level with RomethemeKit PRO. Access exclusive features, advanced widgets, and premium templates to build stunning websites faster and easier than ever. Create and customize websites easily without needing to write any code. Making it accessible for both beginners and experienced web developers to design professional-looking websites efficiently.
If you’re looking for more tips and tricks to improve your UI/UX skills, be sure to check our latest article:
- Template or Custom Design? Don’t Build Your Website Before Reading This
- 9 Website Design Trends That Will Dominate 2025
- Will ChatGPT Replace Web Developers?
- 5 Powerful Tools to Supercharge Your Web Development Workflow
- 5 Recommended Rometheme Template Kits for Tech and App Websites in 2025
References:
How to Optimize Images for WordPress: Beginner Guide (2025) – Darrelwilson.com